This is a quick quide to using Wad2PDF for those who have little or no experience using Windows command line tools. Following the instructions here will make it possible for you to create your own PDF files easily.
The first step is to create a folder called wad2pdf to
the root of your C: drive. This can be easily
accomplished using My Computer or Windows Explorer.
Download GlBSP from here.
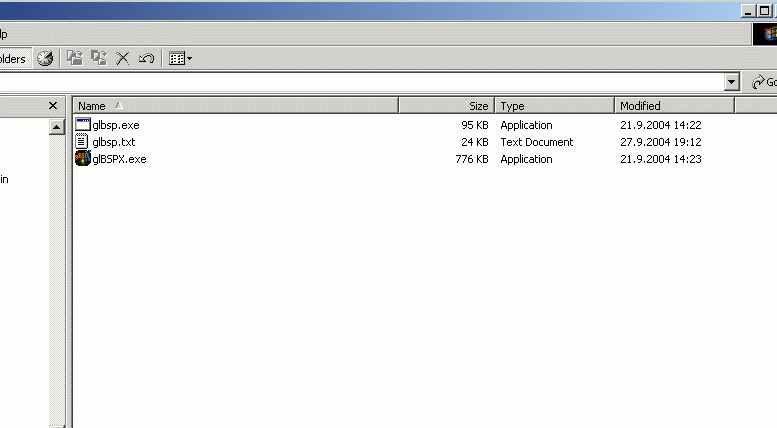
Extract its contents to C:\wad2pdf. The result should be
as in the following figure.

Download Wad2PDF here.
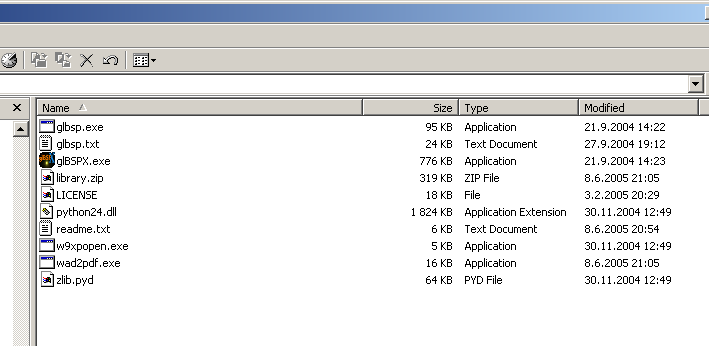
Extract it also to C:\wad2pdf. The result should look
like the following.
Copy doom2.wad to C:\wad2pdf.
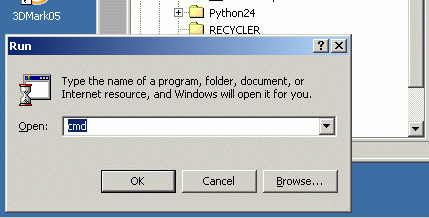
From Windows' Start menu select Run.... Type
cmd to the dialog as shown below.
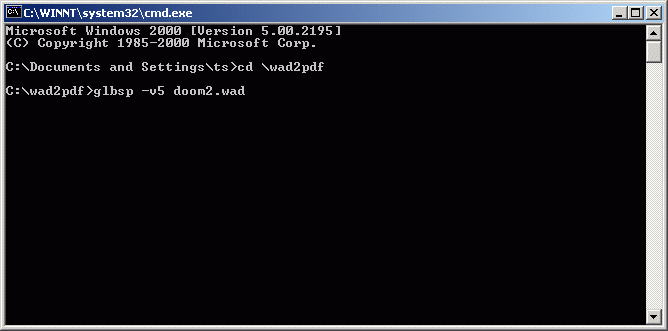
Press enter and you get a command prompt window. Type cd
\wad2pdf and press enter.

Now we build the level 5 GL nodes that are required by Wad2PDF. Type the command shown below and press enter.
When GlBSP finishes, the result should look like this.
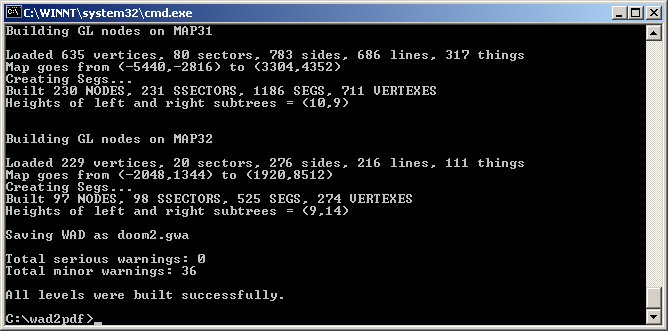
Now we are ready to run Wad2PDF. Just type the command shown at the last row and press enter.
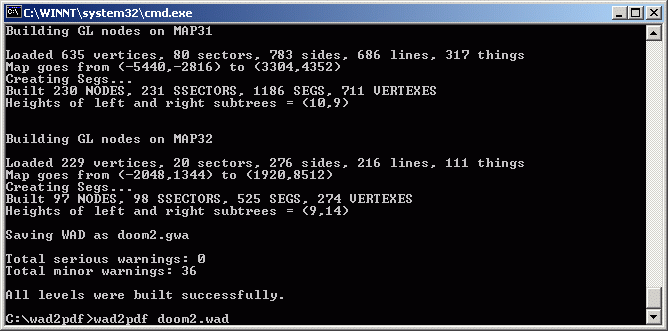
When it finishes, the end result should look like this.
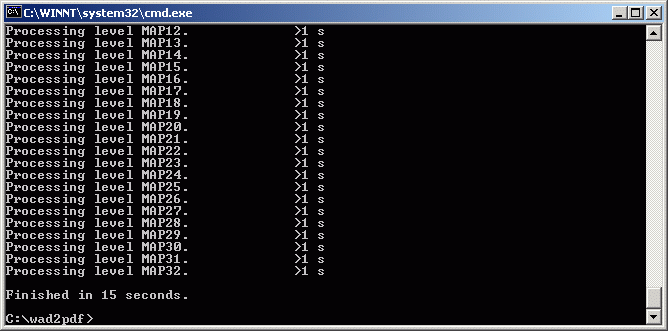
We are finished. The PDF file can now be found in
C:\wad2pdf as shown below.

Running Wad2PDF on pwads is straightforward. Just copy the pwad to
c:\wad2pdf, build the gl nodes just like above, and run
Wad2PDF like this: wad2pdf <iwad file name> <pwad file
name>. Note that you must always have the correct iwad
first, because pwad files do not contain all the information needed to
build a PDF file.
After you have gotten started, you may fine-tune your PDF files by giving Wad2PDF various command line options. These are documented in the readme file that comes with the package.
© 2005 Jussi Pakkanen,  , back to
front page